
WALL PRO 301 – Ready to use wallpaper adhesive
Instructions
NL
Beschrijving
Deze gebruiksklare behanglijm is geschikt voor alle soorten behang
(vliesbehang, papierbehang en vinylbehang).
Elke verpakking bevat 2,5 kg en is geschikt voor ongeveer 12 – 15 m². Verbruik: ca. 200 gr/m².
100% milieuvriendelijk geproduceerd in Nederland.
Toepassing
- Geschikt voor alle soorten vlies- en papierbehang
- Gebruiksklaar
- Goed roeren voor gebruik
Houdbaarheid
- Minimaal 6 maanden houdbaar in originele, goed afgesloten verpakking.
- Vorstvrij opslaan.
- Verbruik: ca. 200 gr/m².
- Ideale verwerkingstemperatuur 15 – 20 °C.
- Niet verwerken bij 70% RV.
NL
Behang instructies
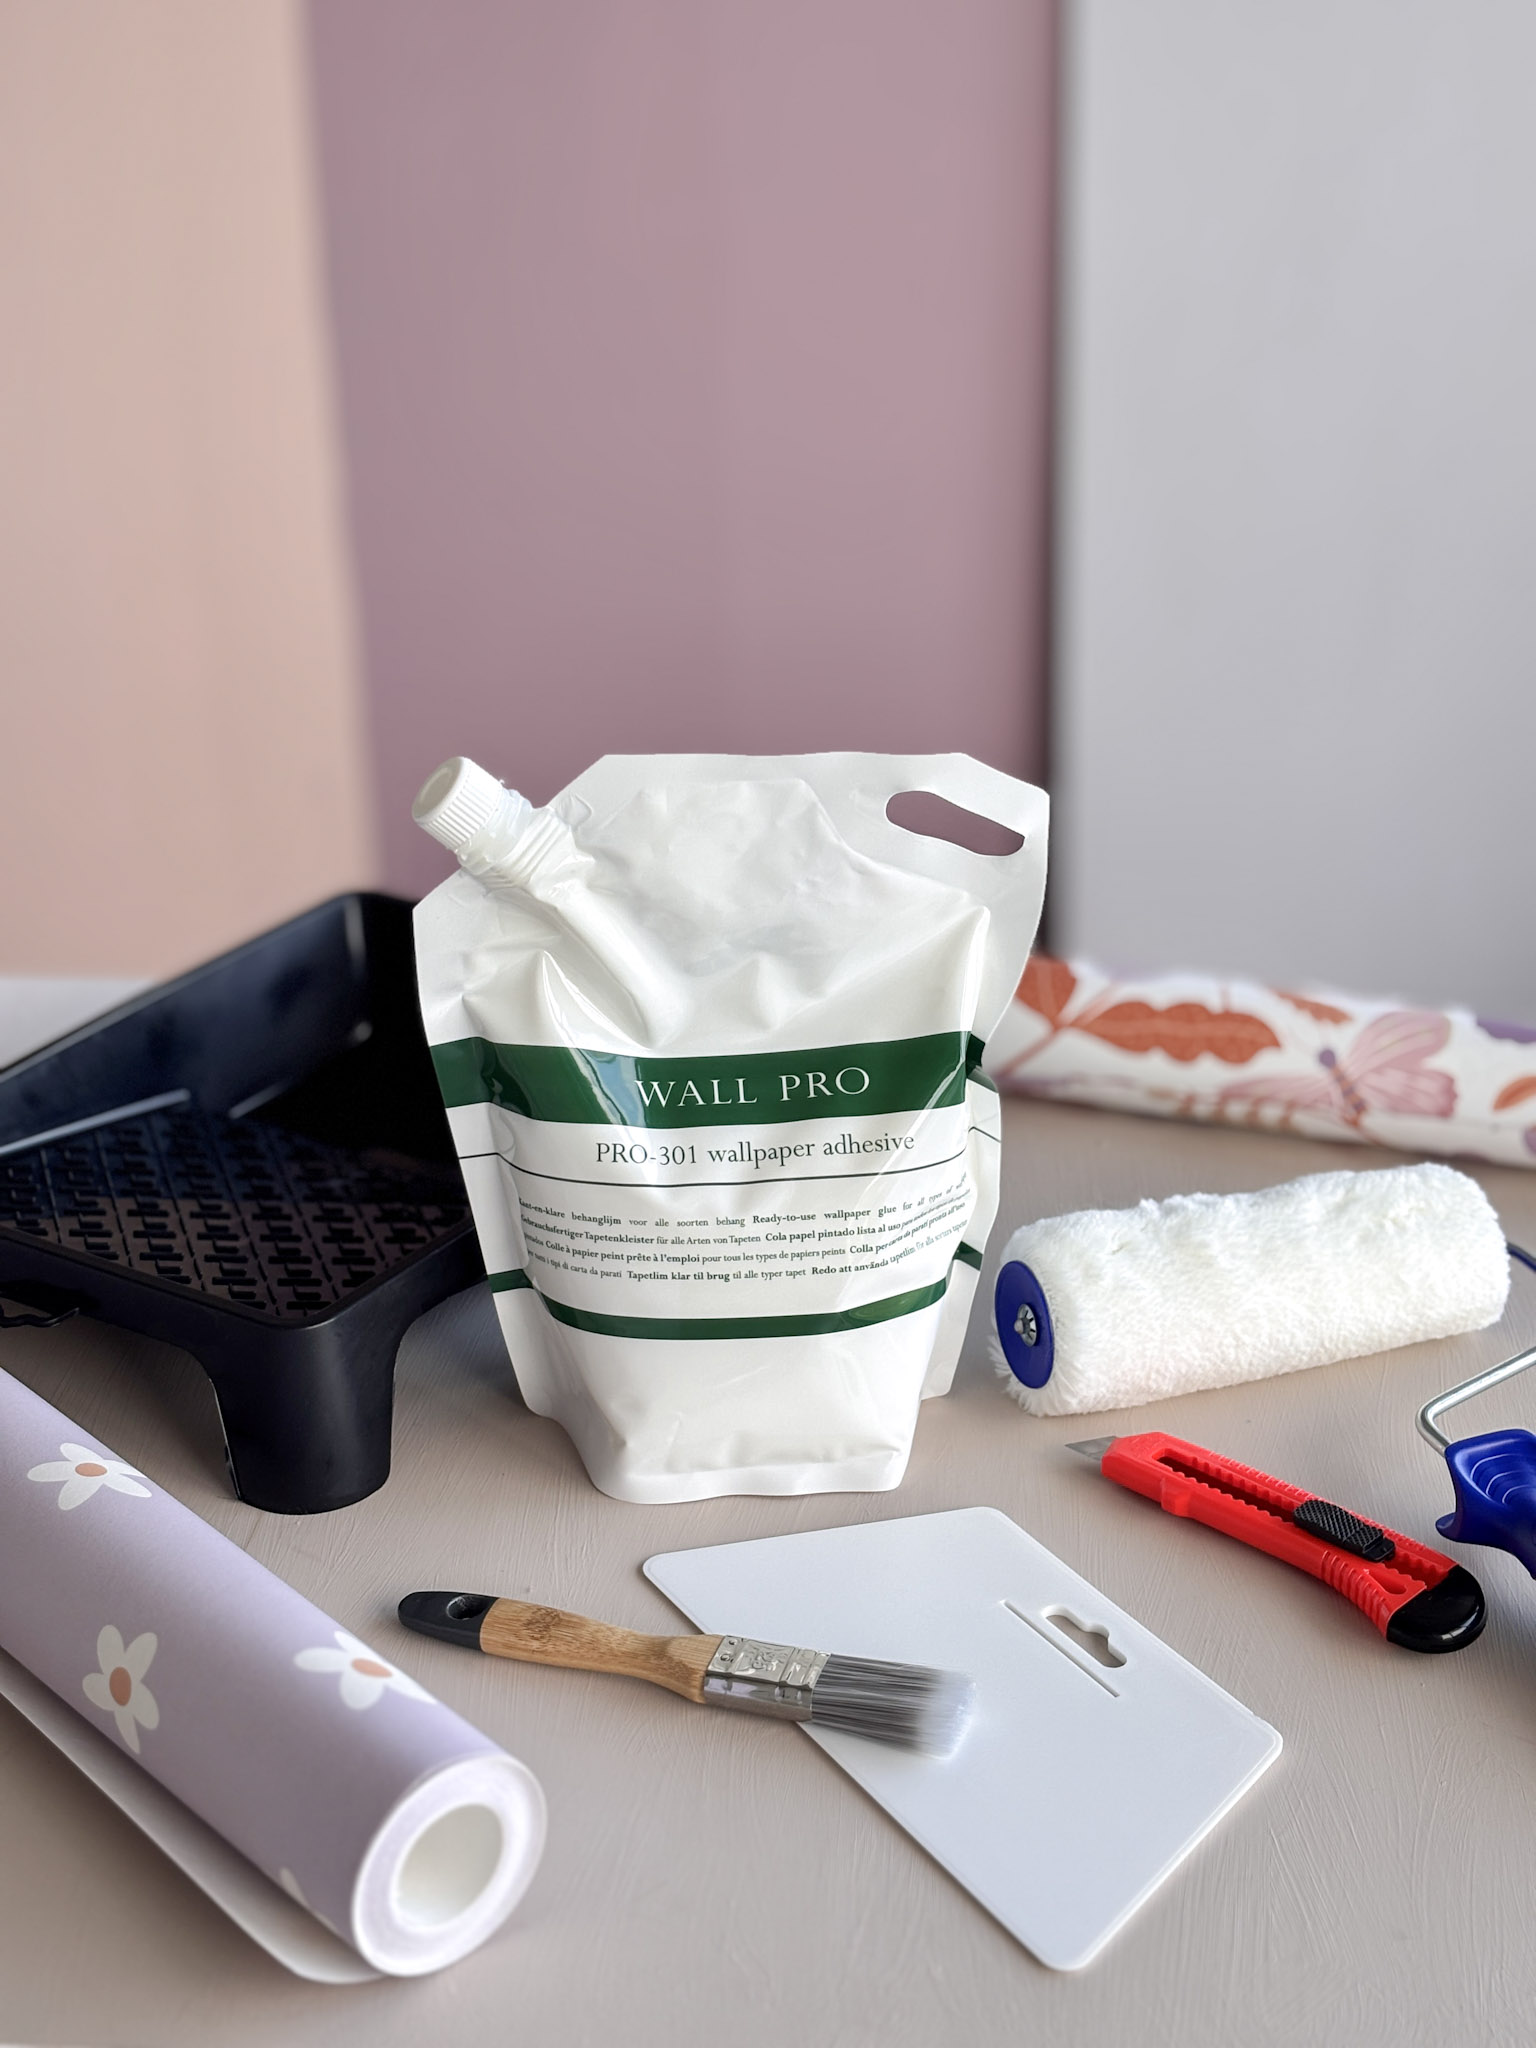
Wat heb je nodig?
- Behanglijm geschikt voor vliesbehang
- Afbreekmes
- Behangroller en kleine kwast
- Behangspatel
- Waterpas en potlood of loodlijn
- Trapje
- Schoonmaakdoek of spons

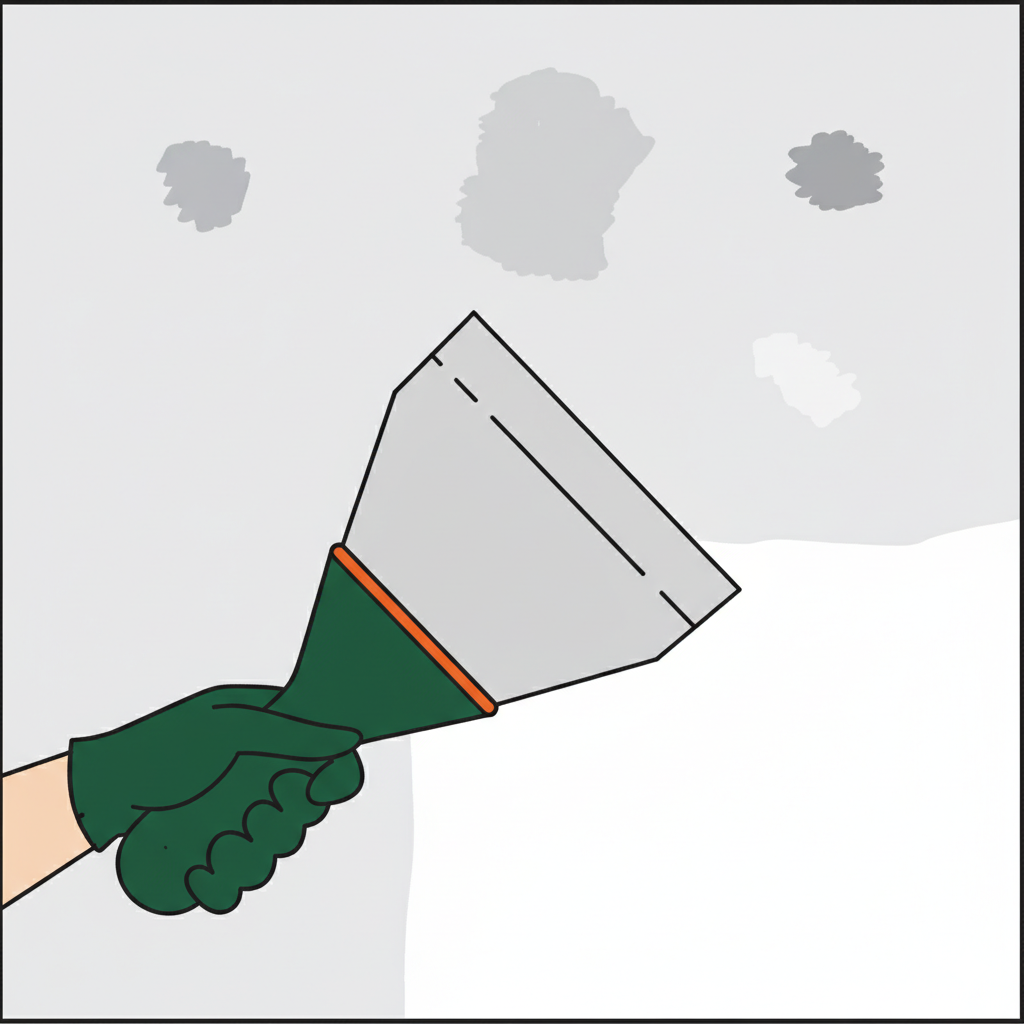
1. Voorbereiding
Een goede voorbereiding is het halve werk.
Zorg dat de muren schoon, droog, glad en egaal van kleur zijn. Verwijder eventueel oud behang volledig.
Vul gaatjes en oneffenheden met plamuur of muurvuller. Haal afdekplaatjes van stopcontacten en schakelaars en schakel de stroom uit. Vermijd tocht en sterke temperatuurschommelingen, omdat dit krimp van het behang en openstaande naden kan veroorzaken.
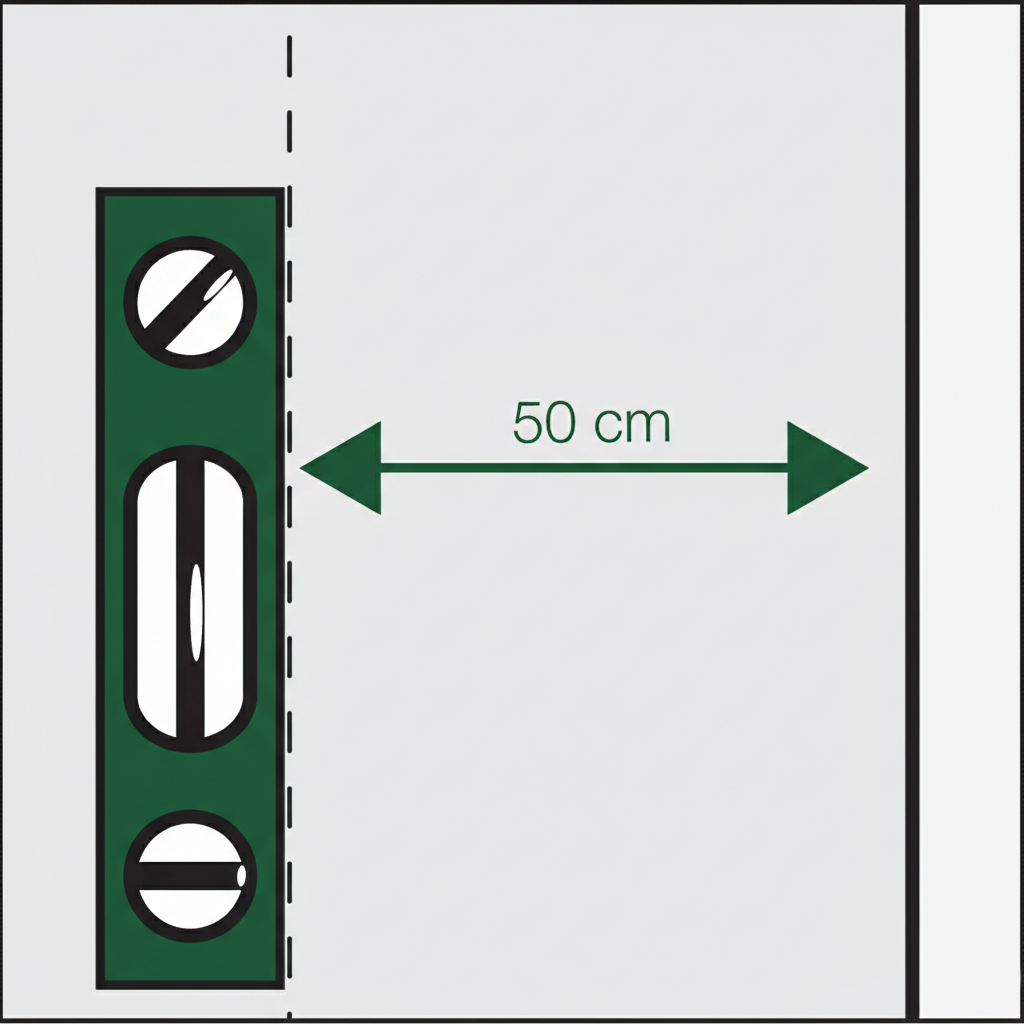
2. Rechte hulplijn aanbrengen
Omdat muren en plafonds zelden perfect recht zijn, is het belangrijk om eerst een verticale hulplijn te tekenen. Gebruik hiervoor een waterpas of een loodlijn en trek de lijn ongeveer 50 cm vanaf het startpunt (rolbreedte minus ±3 cm).
Begin bij voorkeur bij het raam: het licht valt dan in de richting van de banen, waardoor naden minder zichtbaar zijn.
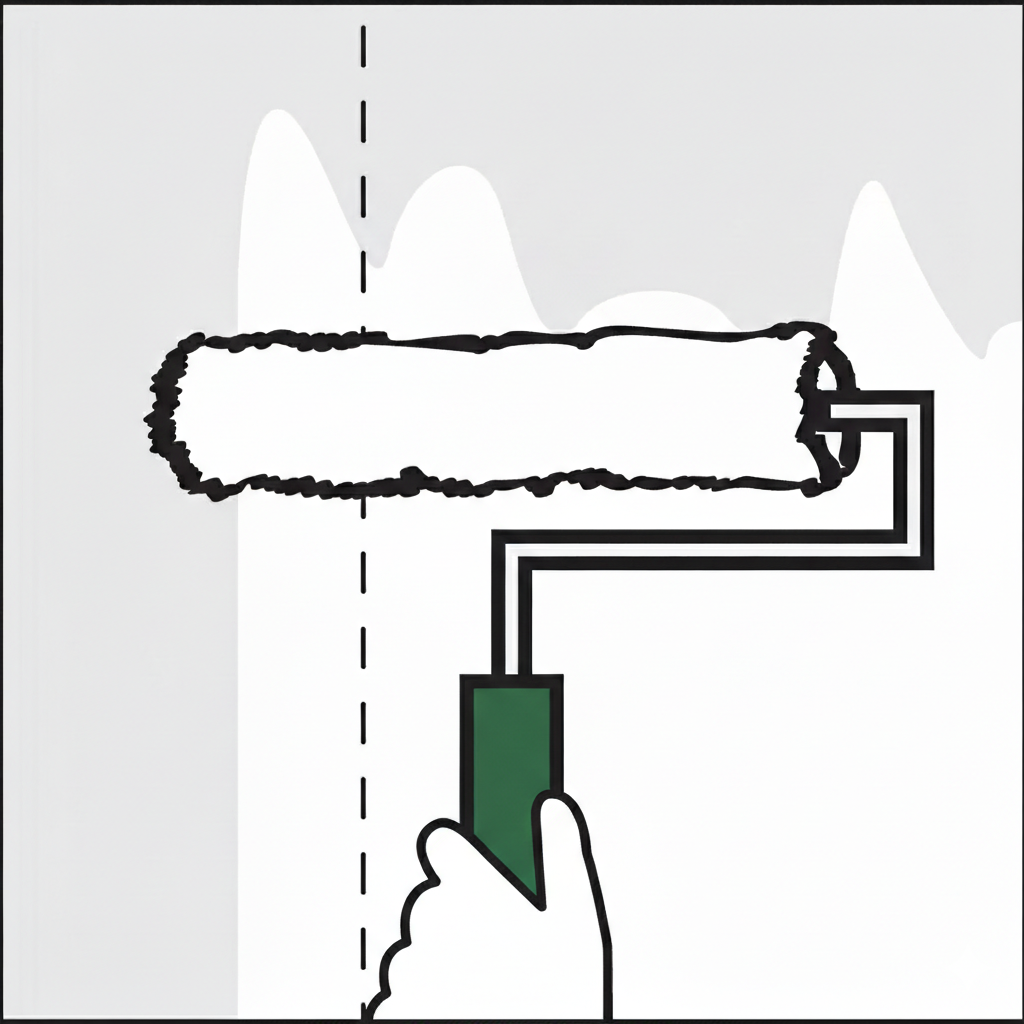
3. Lijm aanbrengen
Bereid de behanglijm volgens de aanwijzingen op de verpakking.
Bij vliesbehang breng je de lijm direct op de muur aan — een behangtafel is niet nodig. Je kunt het behang meteen van de rol op de muur aanbrengen.
Als je de banen vooraf wilt snijden, meet dan de muurhoogte en tel 10 cm extra op voor het nasnijden.
Bij patroonbehang geldt:
muurhoogte + één patroonhoogte + 10 cm.
Verdeel de lijm gelijkmatig over de muur en werk per baan. Breng de lijm iets breder aan (ongeveer 15 cm) dan de breedte van de rol wanneer je de volgende baan plakt.
4. Behang aanbrengen
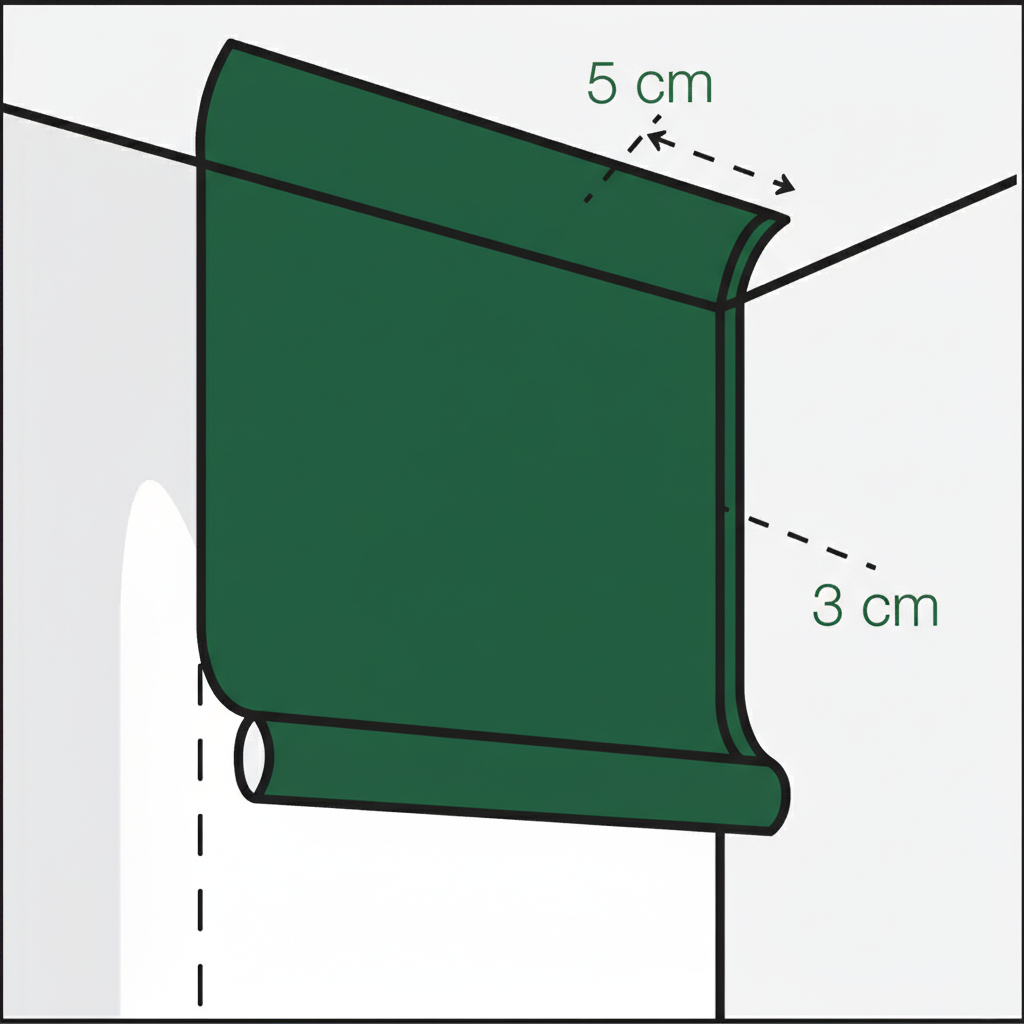
Plaats de eerste baan bovenaan de muur met ongeveer 5 cm overlap bij het plafond. Rol het behang naar beneden en lijn het zorgvuldig uit met de hulplijn.
Druk de baan glad met een behangspatel.
Snijd overtollig behang langs plafond en plint af met een afbreekmes. Duw luchtbellen en overtollige lijm naar de vrije zijkant van de baan.
5. Patroon laten doorlopen
Elk behang heeft een patroonherhaling, die staat vermeld op het etiket.
Bij uni- of streeppatronen is het meestal niet nodig om hiermee rekening te houden.
Bij grotere of opvallende dessins is het belangrijk om elke nieuwe baan zorgvuldig te laten aansluiten op de vorige, zodat het patroon mooi doorloopt.
ENG
Description
This ready-to-use wallpaper adhesive is suitable for all types of wallpaper (non-woven wallpaper, paper wallpaper and vinyl wallpaper)
Each package contains 2,5 kg and will cover approximately 12 – 15 m². Consumption: approx. 200 g/m².
Made 100% environmentally friendly in the Netherlands
Application
- Suitable for all types of non-woven and paper wallpaper
- Ready to use
- Stir well before use
Shelf life
- At least 6 months when stored in the original, tightly sealed packaging.
- Store frost-free.
- Ideal application temperature: 15–20 °C.
- Do not apply at relative humidity above 70%.
ENG
Wallpaper instructions
What do you need to get started?
- Adhesive suitable for non-woven wallpaper
- Utility knife with snap-off blade
- Wallpaper roller and small brush
- Smoothing tool / wallpaper spatula
- Spirit level and pencil or plumb line
- Stepladder
- Cleaning cloth or sponge
1. Preparation
A good start makes all the difference.
Ensure your walls are clean, dry, smooth and evenly colored. Remove any old wallpaper completely.
Repair holes and imperfections using filler or spackle. Remove socket and switch covers and turn off the power supply. Avoid drafts and sudden temperature changes, as these can cause the wallpaper to shrink and seams to open.
2. Draw a straight guideline
Walls and ceilings are rarely perfectly straight, so mark a vertical guideline before you begin. Use a spirit level or plumb line and draw the line about 50 cm from your starting point (roll width minus approx. 3 cm).
Starting near the window helps hide seams because the light falls along the strips.
3. Apply the adhesive
Prepare the wallpaper paste according to the instructions on the packaging.
With non-woven wallpaper, you apply the paste directly to the wall — no wallpaper table required. You can hang the wallpaper straight from the roll.
If you prefer cutting the strips in advance, measure the wall height and add 10 cm extra for trimming.
For patterned wallpaper:
wall height + one pattern repeat + 10 cm.
Spread the paste evenly over the wall, working per strip. Apply it slightly wider (about 15 cm) than the wallpaper width when placing the next strip.
4. Hanging the wallpaper
Position the first strip at the top of the wall, leaving about 5 cm overlap at the ceiling. Roll the wallpaper down and align it carefully with your guideline.
Smooth it onto the wall using a wallpaper spatula.
Trim excess paper at the ceiling and skirting board with a snap-off knife. Push out air bubbles and surplus paste toward the free edge of the strip.
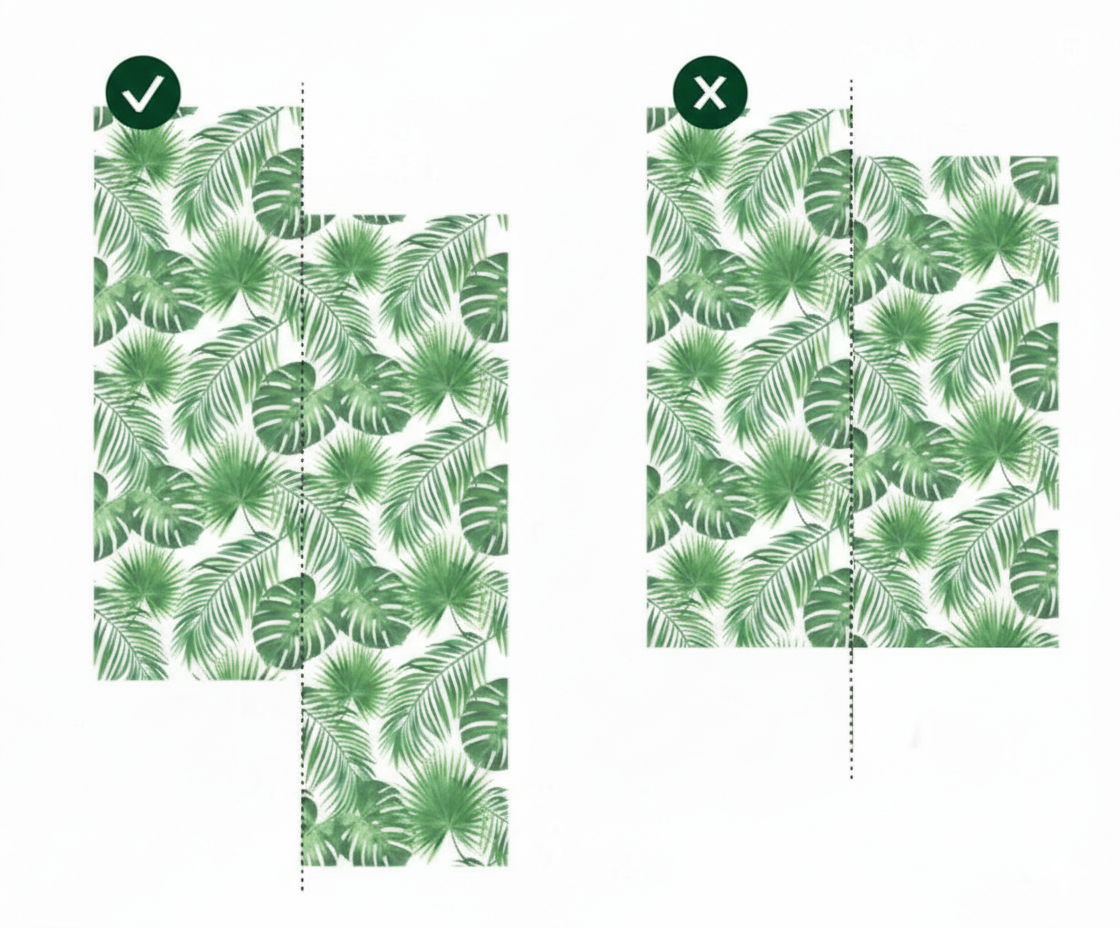
5. Matching the pattern
Every wallpaper has a pattern repeat, which is indicated on the label.
For plain or striped designs, matching is usually straightforward.
For larger or more complex patterns, carefully align each new strip with the previous one to maintain the correct pattern flow.